5. Application overview
5.1. Screenshots (click to enlarge)
Device list
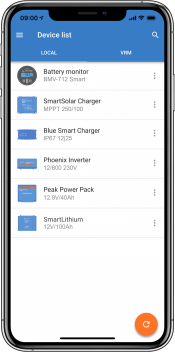
LOCAL - This page shows all the Victron products that have been discovered by your phone, and to which a connection can be made. Click on the desired product.
 |
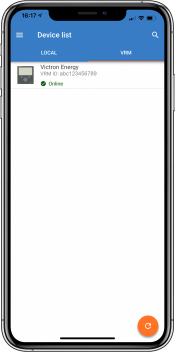
VRM - This page will show a GX product if it is connected to your VRM account.
 |
Battery Monitor pages:
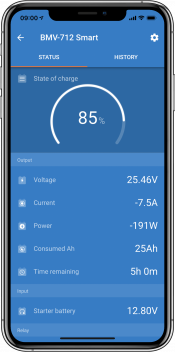
Clicking on 'Battery Monitor' will show the current state of charge, and allows you to toggle between screens showing more detailed information concerning the current battery STATUS, and HISTORY data.
To access 'Settings' click on the cog
 icon at the top right of the screen.
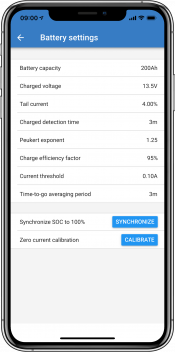
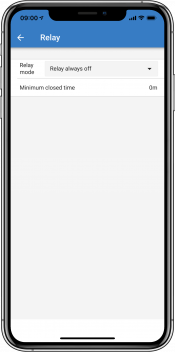
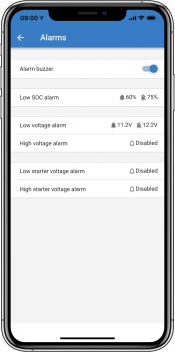
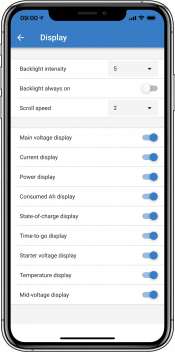
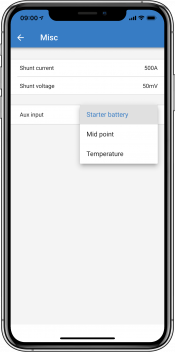
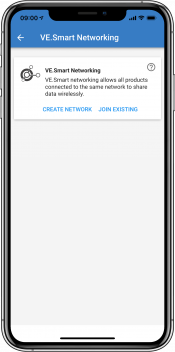
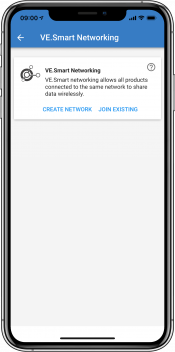
From 'Settings' you can change the data concerning your battery storage; set alarms and relays; change charging parameters; tailor the appearance and quantity of data displayed and set up or join an existing VE.Smart network.
 |  |  |  | |
 |  |  |
Solar Charge Controller pages
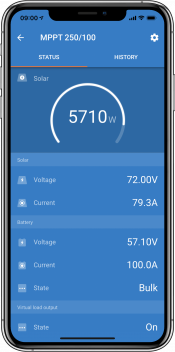
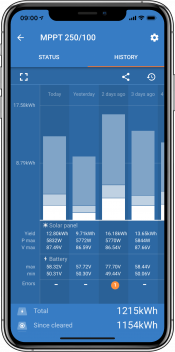
Clicking on your Solar Charge Controller product allows you to view the current charging status.
To access 'Settings' click on the cog
 icon at the top right of the screen.
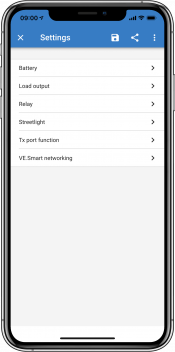
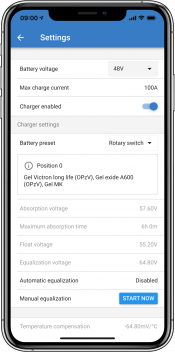
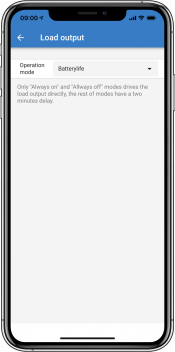
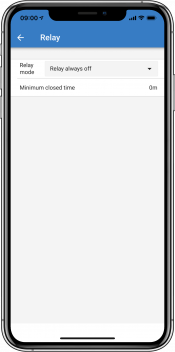
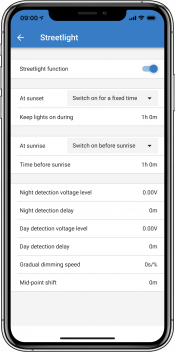
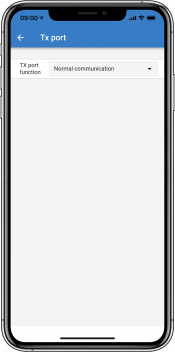
'Settings' will allow access to the extensive range of functions available on your solar charge controller, including programming the charge settings; initiating relays which are triggered by solar time, or by voltage parameters; together with comprehensive historical analysis.
For a full explanation of the Solar Charge Controller options follow this link.
 |  |  |  |  |
 |  |  |  |
Inverter pages
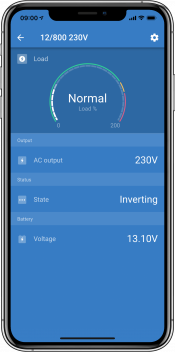
Clicking on the Inverter allows you to view dynamic data such as power-draw of connected loads; a power bar will show how hard your inverter is working, and you will find information such as battery voltage, etc.
To access 'Settings' click on the cog
 icon at the top right of the screen.
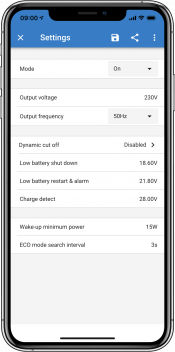
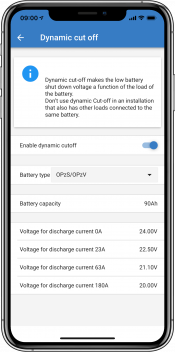
'Settings' will allow you to set output voltages/frequency; set low voltage shut-downs, and restarts - together with their alarms; set a dynamic cut-off - based on load; together with other settings about which more information can be found here.
 |  |  |
Blue Smart IP65 charger pages
The Blue Smart IP65 battery charger comes with Bluetooth already built-in. When the Blue Smart charger is powered-up it will be discoverable using the VictronConnect app on your phone. (Except Windows PC - See 3.1 Windows PC, above).
The 'home' page shows information about the battery voltage, charge current, and where your battery is in the charging cycle.
To access 'Settings' click on the cog icon
 at the top right of the screen.
Lithium Batteries Smart
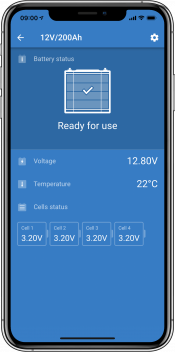
Lithium Batteries Smart have Bluetooth built-in. Clicking on the Lithium battery from the Device list will allow you to view live data about the battery status, voltage, and temperature. You will also see the voltage of each cell - which is an essential guide to battery health.
To access 'Settings' click on the cog icon
 at the top right of the screen.
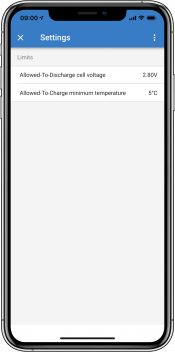
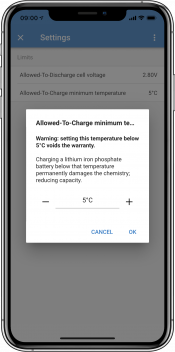
From 'Settings' you can change discharge and temperature parameters.
 |  |  |
Peak Power Pack
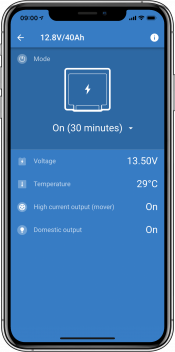
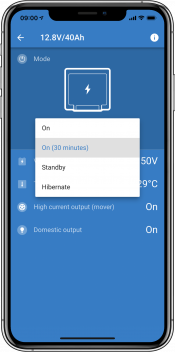
Windows
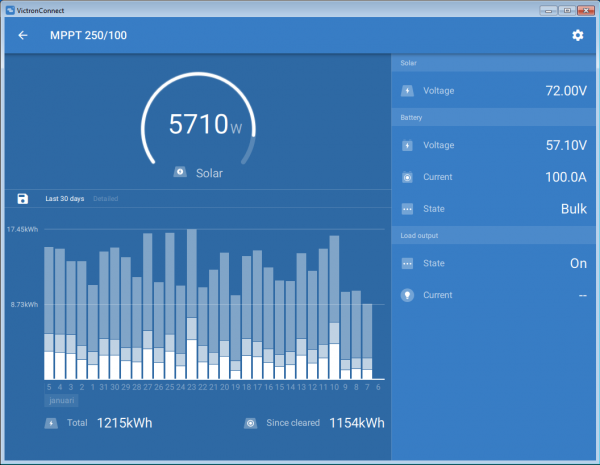
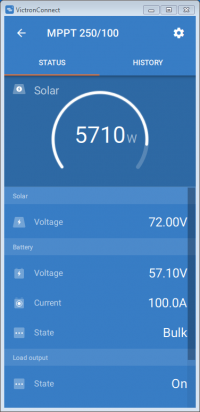
Here is a VictronConnect app screenshot from a PC using a version of the Microsoft Windows operating system showing information from an MPPT.
 |  |
macOS
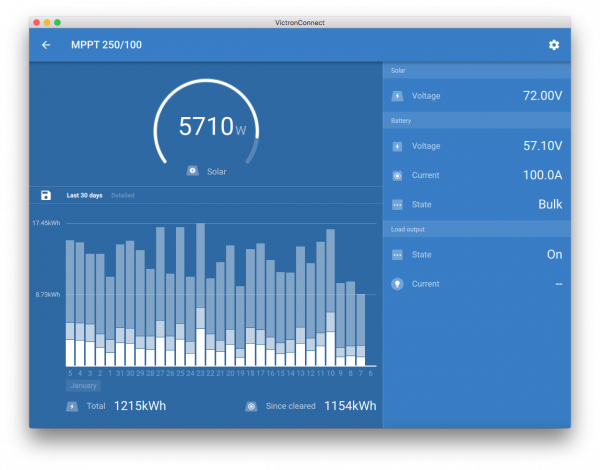
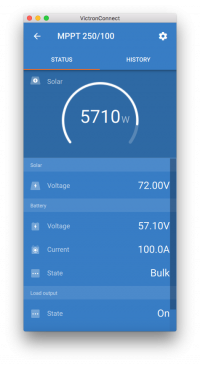
Here is a VictronConnect app screenshot from a PC running the Mac Operating System showing information from an MPPT.
 |  |
5.2. Videos
Blue Smart IP65 Charger
This video will show you how to download the VictronConnect App onto a smartphone (in the video we use an iPhone). It will also show you how to use the app to view information and control the settings of a Blue Smart IP65 charger.
BlueSolar MPPT
This video will show you how to download the VictronConnect App onto a smartphone (in the video we use an iPhone). It will also show you how to use the app to view Live Data and historical information from your Victron MPPT Solar Charge Controller. A full description of all the settings available on our Solar Charge Controllers can be found on this page.
5.3. How to assign a custom name to your products
It is possible to change the name of your Victron product to make identification easier. This is especially useful if you have multiple products, such as 3 MPPTs and 2 BMVs.
First, complete your connection to the device whose name you want to customise
Go to the Product info page by clicking on the cog icon
 at the top right and from there click on the icon with the three vertical dots
  at the top right to get to the Product page
Go to the Custom name option and select Edit to enter your custom name
Press OK to finish.
Repeat this process for each product whose name you want to change
For other products you'll find the  button on the upper right, which takes you straight to the Product info page.
Please also watch this video for more details:
5.4. How to disable and re-enable Bluetooth
All our products that have Bluetooth built-in, have a feature that allows disabling Bluetooth. Typically the reason for doing so is security, even though the Bluetooth connection is protected by a PIN code, there is nothing more secure than disabling it.
In most cases, it's also possible to re-enable Bluetooth after disabling. For example by using a VE.Direct cable.
There are, however, a few exceptions:
Once Bluetooth is disabled on these products, it is disabled permanently and is irreversible.
Finding the Bluetooth menu
First, complete your connection; then go to the Product info page by clicking the button on the upper right:
For some products, it will be the settings icon:
 . After opening that menu press
  , and click Product info.
For other products you'll find the
 button on the upper right, which takes you straight to the Product info page.
If the product has the feature that Bluetooth can be disabled, you will see the field “Bluetooth” with a switch button next to the text “Bluetooth enabled”. Toggle the switch to off, the button will turn from light-blue to grey and a dialogue will be displayed to confirm your action. If you choose to “Cancel” the change Bluetooth will remain on and the switch button and text will return the “Bluetooth enabled” position.
For some products, a Disable button is shown instead of a toggle switch.
How to re-enable Bluetooth
Warning
Warning: For Lithium Smart Batteries, Blue Smart IP67 Chargers and Orion Smart DC-DC Chargers: Bluetooth cannot be re-enabled! Once Bluetooth is disabled on these products, it is disabled permanently and is irreversible.
There are a few different ways to re-enable Bluetooth depending on your product, always check the manual of your product for more detailed instructions:
Re-enable Bluetooth using VE.Direct
Connect the product with a VE.Direct to USB cable to your phone and use VictronConnect to re-enable Bluetooth in the Product Info page (see here on how to reach the Product info page).
Re-enable Bluetooth using the MODE button on the product
Press and hold the MODE button on the product for 10 seconds will perform a Bluetooth reset. This means that the following actions will be executed:
Bluetooth will be re-enabled
The connected Bluetooth product will be disconnected
The PIN code is reset to its default value
The pairing information is cleared; this requires removing the product from the list of the paired devices as well.
Re-enable Bluetooth using a built-in web interface (EV Charging Station only)
Connect to the product via the built-in web interface and activate Bluetooth in the Networks menu.
Lithium Smart batteries
The product page can be found here.
Once Bluetooth is disabled, it is disabled permanently and is irreversible. This means that VictronConnect will ask for a confirmation code displayed in the dialogue; if you are sure that you want to permanently disable Bluetooth, enter the code displayed, and choose “Ok”.
Orion Smart DC-DC Chargers
The product page can be found here.
Once Bluetooth is disabled, it is disabled permanently and is irreversible. This means that VictronConnect will ask for a confirmation code displayed in the dialogue; if you are sure that you want to permanently disable Bluetooth, enter the code displayed, and choose “Ok”.
Smart IP43 Chargers
The product page can be found here.
Once Bluetooth is disabled, there are multiple ways to re-enable it again:
Using the MODE button
Using a VE.Direct to USB cable to your phone.
Blue Smart IP22 Chargers
The product page can be found here.
Once Bluetooth is disabled, it can be re-enabled with the MODE button.
Blue Smart IP65 Chargers
The product page can be found here.
Once Bluetooth is disabled, it can be re-enabled with the MODE button.
Blue Smart IP67 Chargers
The product page can be found here.
For these chargers there are two options:
Disable Bluetooth permanently. This option is irreversible and VictronConnect will ask for a confirmation code displayed in the dialogue; if you are sure that you want to permanently disable Bluetooth, enter the code displayed and choose “Ok”.
Enable Bluetooth for 30 seconds at power-up. This allows you to connect to the product and to perform a firmware update or re-enable Bluetooth. If you do not connect within the first 30 seconds Bluetooth will be disabled.
SmartSolar MPPTs
The product page can be found here.
Bluetooth can be re-enabled by connecting a VE.Direct to USB cable to your phone and following these instructions.
Smart BatteryProtect
The product page can be found here.
Bluetooth can be disabled/re-enabled by connecting the PROG pin to ground and selecting F (enable) or h (disable). Check the product manual for more details.
Smart BMV-712
The product page can be found here.
The BMV-712's onboard Bluetooth module can be turned on or off through the settings menu (setting #71). Check the product manual for more details.
Smart BMS
The product page can be found here.
Bluetooth is temporarily enabled at power-up for 30 seconds. You can connect within these 30 seconds to perform a firmware update or re-enable Bluetooth. If you do not connect within the first 30 seconds Bluetooth will be disabled.
SmartShunt
The product page can be found here.
Bluetooth can be re-enabled by connecting a VE.Direct to USB cable to your phone and following these instructions.
EV Charging Station incl. NS
The product page can be found here.
Bluetooth can be re-enabled via the built-in web interface in the Networks menu. For detailed instructions, please see the product manual.
Orion XS 12/12-50A DC-DC battery charger
The product can be found here.
Bluetooth can be re-enabled by connecting a VE.Direct to USB cable to your phone and following these instructions. Note that this requires a device with a USB port, such as an Android phone, a PC, or an Apple computer with macOS. iOS devices such as iPhone or iPad cannot be used for this method.
5.5. Importing and converting a GX Product Family database File
VictronConnect allows you to import and convert the .SQLITE3 database log file (that is created by the VenusOS on the GX Product Family) to a Microsoft Excel .XLSX file.
This can be useful if the site is remote, and without an internet connection to upload the file to the VRM Portal, of if you do not wish to upload your data to Victron servers.
This feature is only available for macOS and Windows version of VictronConnect.
In order to retrieve this log file, you need to have a GX device with a USB thumb drive or microSD card installed (memory stick), and the GX cannot be connected to VRM.
If the GX device is connected to VRM via the internet, then the log data will be pushed to VRM, and not saved to the memory stick.
It is important if you want to remove the memory stick that it is safely ejected first. This is done in the VRM online portal menu of the GX device (when a memory stick is detected).
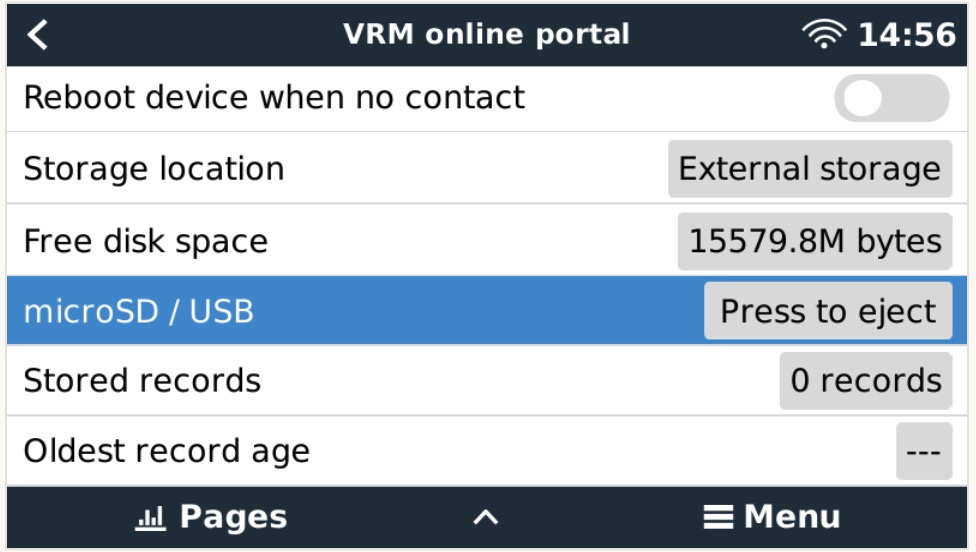
Once the memory stick is safely ejected, you can connect it to the computer running VictronConnect.
This feature is not available in the iOS and Android mobile versions of VictronConnect.
Copy the database file (located in the root directory of the memory stick) to the local hard drive of the computer.
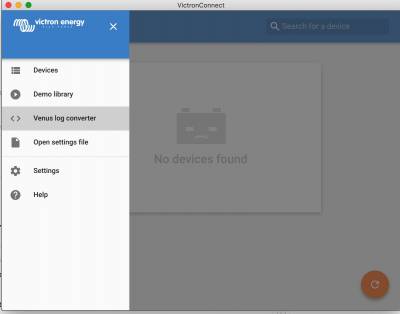
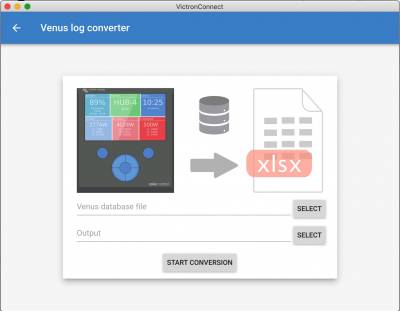
You can then open VictronConnect, and select the Venus log converter from the side bar menu, and navigate to the Venus database file.
Select the output location, where it will create the .XLSX file (native Windows Excel, but importable to other spreadsheet tools such as Apple Numbers, or Google Sheets).
Click START CONVERSION.
There is no upper limit to the size of the database that you can import, and it can potentially be many years of data, so please be patient during the conversion process.
This process does not require an internet connection, it can be done remotely on site, and your data will never come into contact with Victron servers.
Note if you would like to use the graphical tools of VRM, it is possible to ZIP compress and upload the pre-conversion database file to VRM as well.
Here is a sample set of 1 month of data that has been converted from the .sqlite3 database to the .xlsx spreadsheet.
Sample data from VictronConnect conversion of GX device database